Resistance Band Exercises for Osteoporosis: 7 Safe Moves for Bone Density
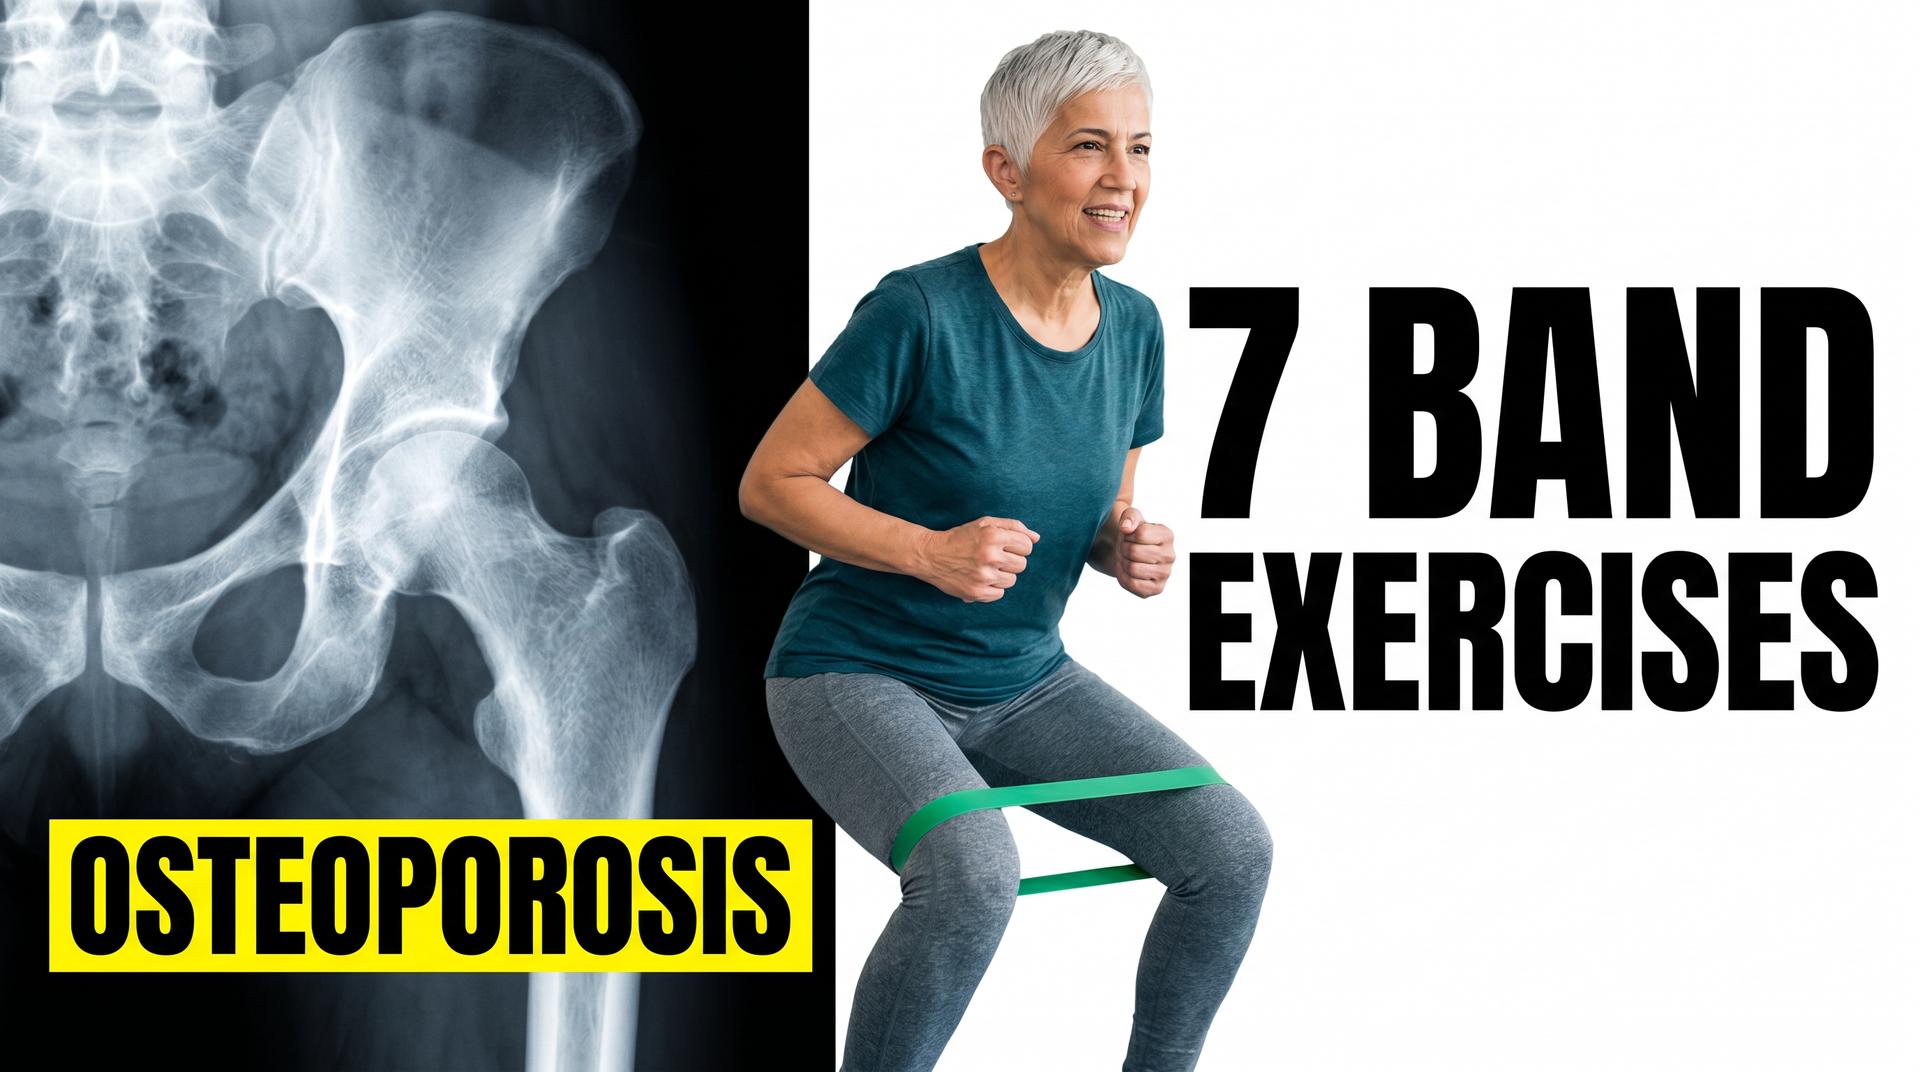
If you’ve been told to be careful with exercise because of osteoporosis, it’s natural to want to avoid anything that puts load through your bones. That instinct makes sense, but it’s actually the opposite of what the research supports.
Why Resistance Band Exercises Help with Osteoporosis
Bone is living tissue. It responds to load, and that’s how it gets stronger. The Royal Osteoporosis Society recommends weight-bearing exercise with load and resistance, rather than avoiding it altogether. Resistance bands are one of the safest ways to introduce that load at home, particularly if you don’t have access to weights.
If you have osteoporosis and haven’t yet had specific guidance on exercise, speak to your GP, specialist or physiotherapist before starting a new programme. This is general education, not a replacement for that advice.
If you’d like to hear how someone else has approached this, you can watch or listen to Shirley’s story, she shares her own experience of working to avoid bone-thinning through strength training.
What You'll Need
A resistance band, ideally a set of three so you can progress the resistance as your confidence builds: light, medium and heavy. Start on the lightest band for all seven exercises, and only increase once the movement feels controlled and comfortable. For the last two exercises, you’ll also need a door anchor, or another secure way of attaching your band to a fixed point.
You’ll find the bands and door anchor I use, along with the rest of my recommended equipment, on my resources page.
Exercise 1: Banded Squat
Step onto the bottom strand of the band with your feet hip-width apart, holding the top strand at shoulder height. Slowly squat down as far as feels comfortable, then push through your heels to stand tall again.
This loads the femoral neck and lumbar spine, two of the most common osteoporosis fracture sites, and it mirrors the movement pattern of standing up from a chair.
Exercise 2: Romanian Deadlift (RDL)
Lay both strands of the band flat on the floor and step over them, feet hip-width apart, holding one end in each hand. Keeping the band under both feet, hinge forward from the hips with a neutral spine, going only as far as you can control, then stand tall again.
The key here is keeping your spine neutral throughout. If your lower back starts to round, reduce your range of motion and build up gradually. This is the same pattern you use every time you lift something from the floor, and it’s one people with osteoporosis often avoid, which removes a stimulus the bone actually needs.
Exercise 3: Glute Bridge
Lie on your back on a mat or bed, knees bent to around 90 degrees, feet flat on the floor. Place one strand of the band across your waist and pin the ends down with your hands. Push through your heels to lift your hips until you have a straight line from knees to shoulders, then lower under control.
If standing exercises feel daunting to begin with, this is a good entry point.
Exercise 4: Lateral Band Walks
Stand on the bottom strand, feet hip-width apart, and bring the top strand up to chest height. Step sideways against the resistance, then slowly bring the trailing foot back in to hip-width, resisting the band rather than letting your foot slide or snap back.
This targets the hip abductors, which matter a great deal for balance and fall prevention.
Exercise 5: Overhead Press
Stand on the bottom strand, feet hip-width apart, holding the top strand at chest height with palms facing up. Press both hands straight overhead until your arms are vertical, then lower back to shoulder height under control.
This loads the thoracic spine and shoulder girdle, areas that often get missed in osteoporosis exercise programmes.
Setting Up Your Door Anchor
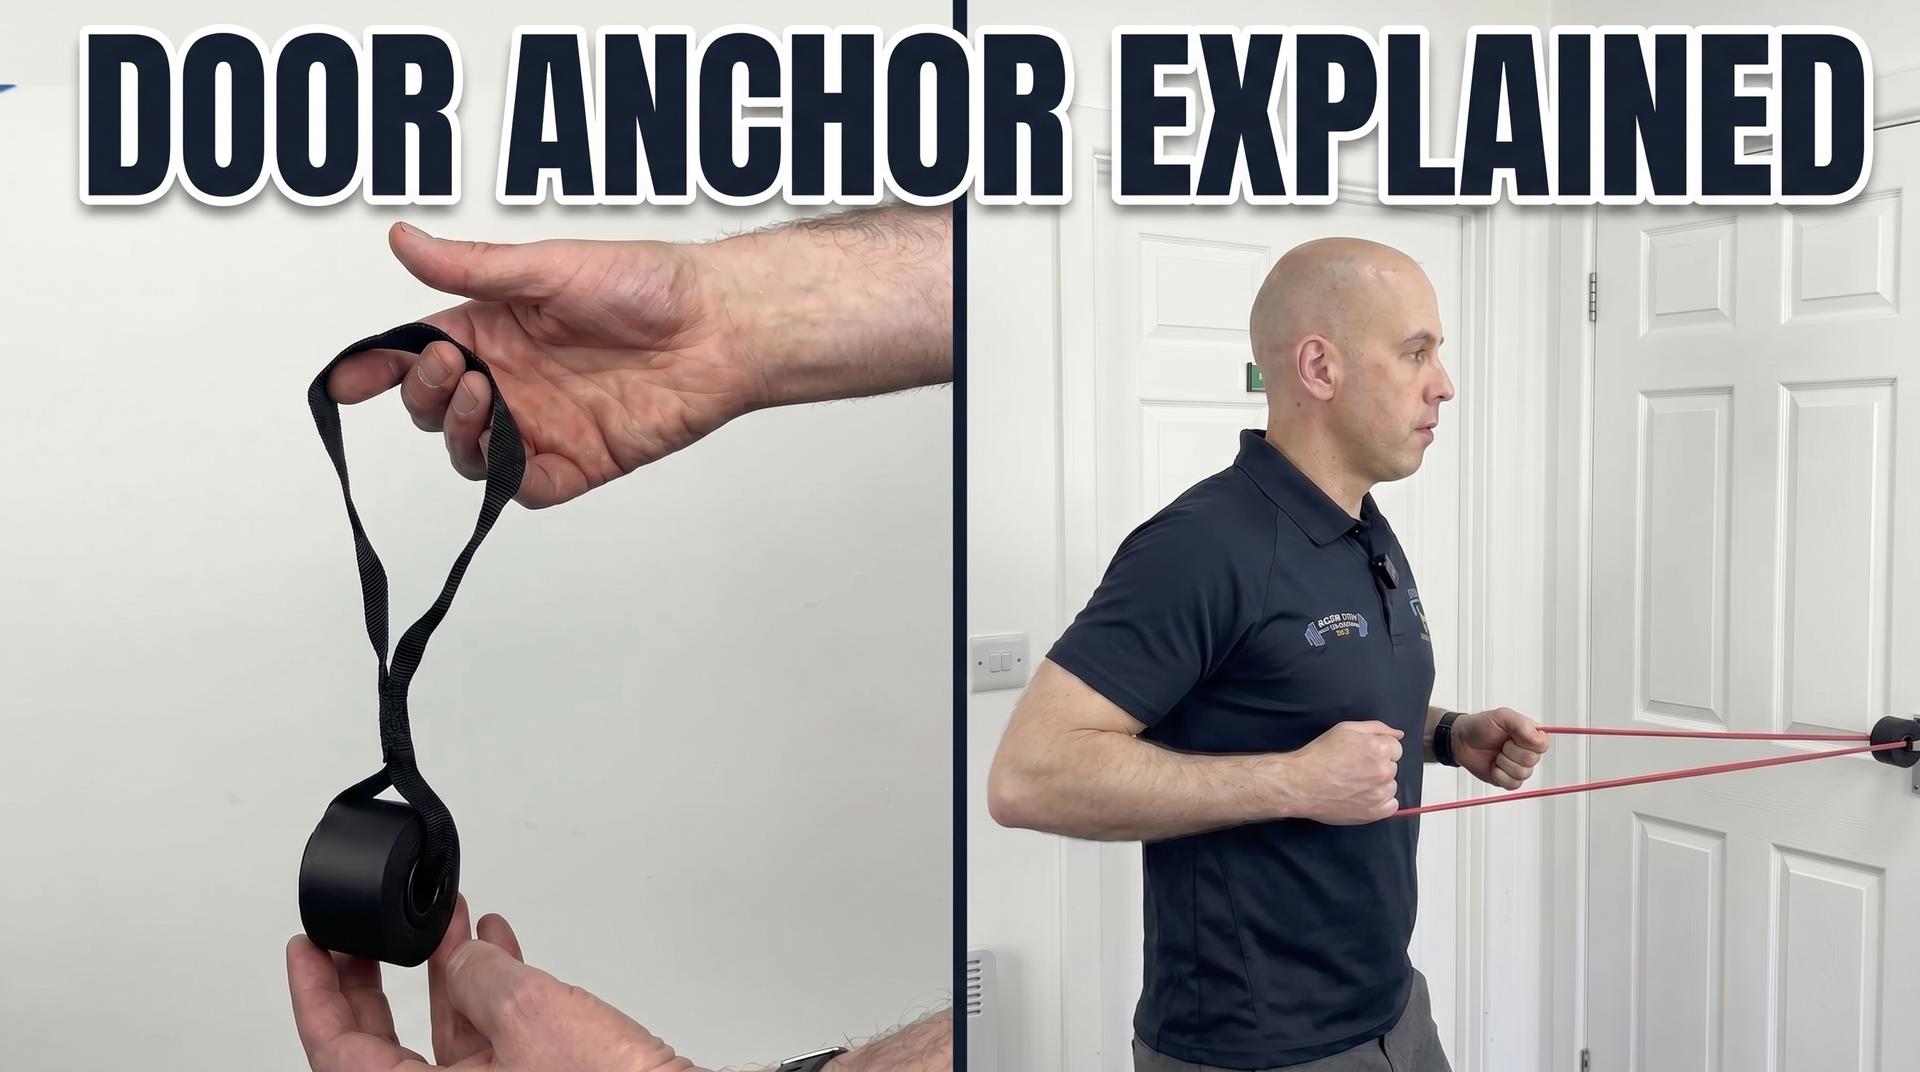
For the last two exercises, you’ll need to anchor your band securely. Place the foam stopper through the side of a door at roughly shoulder height, leaving the loop on your side, then close the door so that pulling the band pulls the door into the frame rather than away from it.
If you’d like a detailed walkthrough of the door anchor setup and more exercises that use it, I’ve covered that in detail in how to use a resistance band door anchor.
Exercise 6: Standing Row
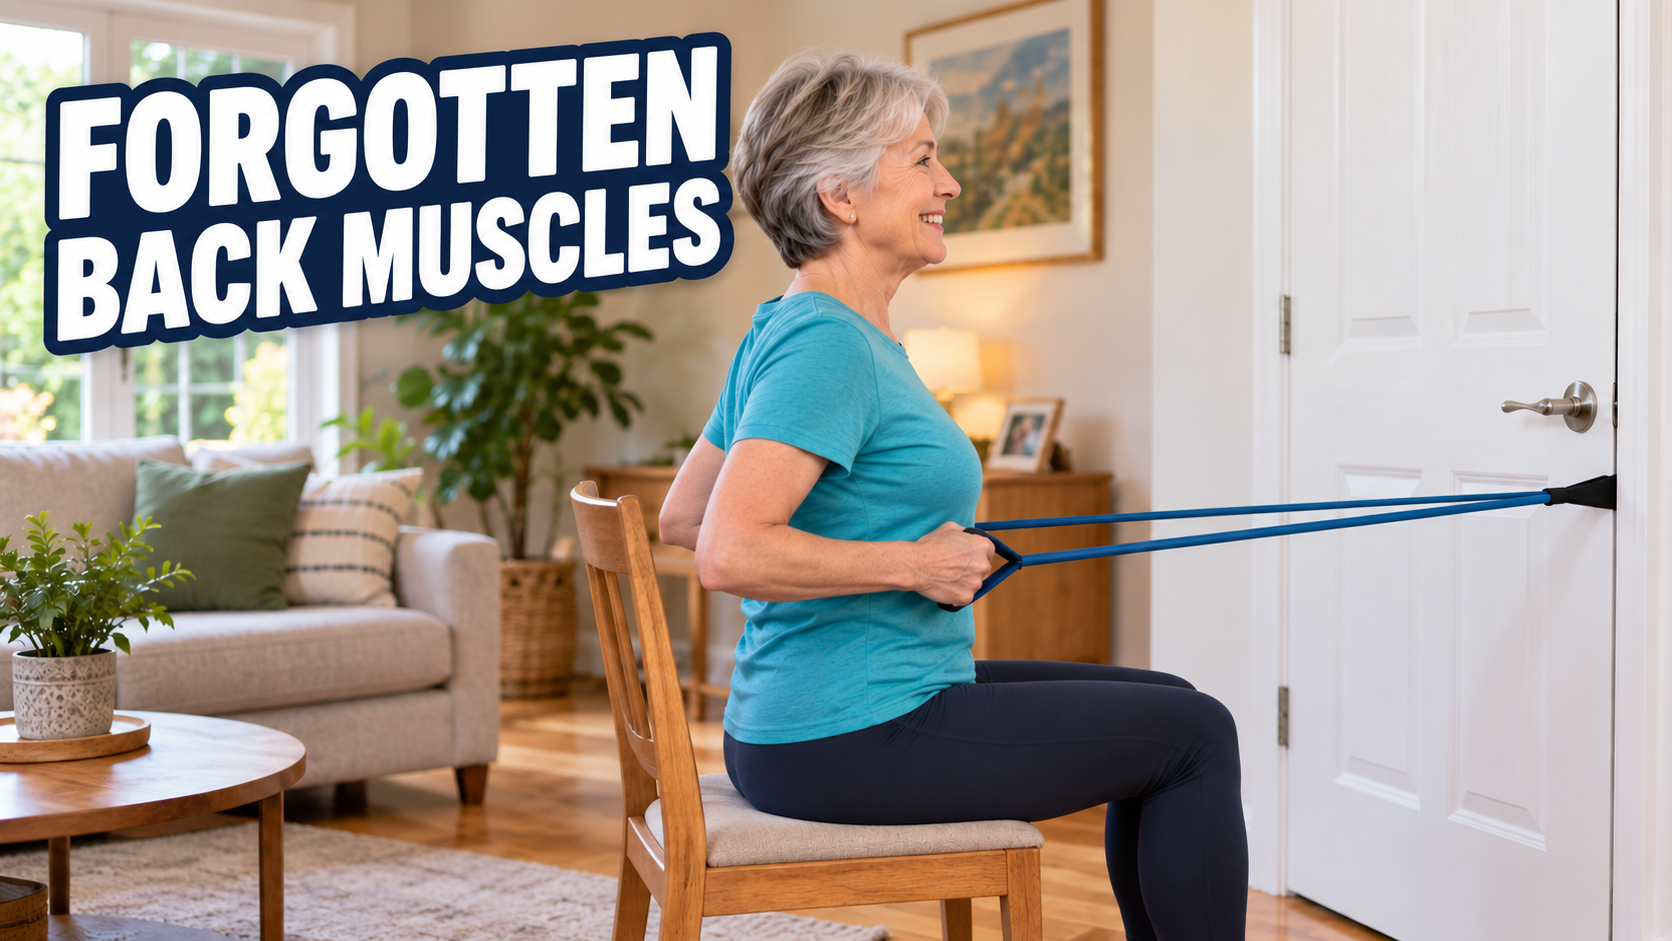
With your band anchored, bring it halfway through the loop so you have two even lengths. Take a strand in each hand, step away to remove the slack, and stand tall with your arms straight ahead. Pull your elbows back until your hands reach your waist, then slowly extend back towards the anchor point.
This targets the muscles around the thoracic spine and upper back, which are often among the first to lose strength. Keeping them strong helps your posture as well as your bone health.
Exercise 7: Single Arm Chest Press
Take one side of the anchored band in one hand, turn to face away from the door, and step forward to create tension. Push your arm forward until it’s horizontal, then slowly bend the elbow to bring your hand back under control.
Because you’re pressing with one arm only, your core also has to resist rotation, adding a spinal stability benefit alongside the loading for the chest and shoulder.
Once you’re comfortable with these seven, you might want to build on them. My 10 resistance band exercises for strength after 60 covers a broader routine for general strength, not specific to osteoporosis.
Frequently Asked Questions
Can resistance bands really help with osteoporosis?
Yes. Bone responds to mechanical load, and resistance band exercises for osteoporosis are a safe, adjustable way of introducing that load, particularly for anyone without access to free weights at home.
What exercises should I avoid with osteoporosis?
This varies by individual and depends on where your bone density is lowest, so it’s worth discussing directly with your GP or physiotherapist. As a general principle, high-impact movements and anything involving spinal flexion under load (rounding your back while lifting) are usually approached with more caution.
How often should I do these exercises?
Consistency matters more than frequency. Two to three sessions a week, done with good form and appropriate resistance, is a reasonable starting point for most people, but this should be tailored to you.
Do I need a physiotherapist's guidance before starting?
If you have a confirmed osteoporosis diagnosis and haven’t had specific exercise guidance yet, it’s worth speaking to your GP, specialist or physiotherapist first. If you’re not sure whether osteoporosis is something you should be concerned about, the Royal Osteoporosis Society has a free three-minute risk checker that’s worth trying.
Want a Full Programme Built Around This?
If you’d like help putting together a complete plan, working out which exercises to prioritise and how to load them appropriately, my free guide walks you through it. Grab it here.
For the full research behind why load matters for bone health, I covered it in depth on episode 47 of the podcast.
If you’re ready for more resistance and versatility than bands can offer, I’ve also reviewed the GoTone Pro, a cable-based option I use with clients that works from home in a similar way to bands.
Want Support Along the Way?
Join Stronger for Life for weekly group calls, form feedback, and a community that understands what it’s like to start strength training later in life.